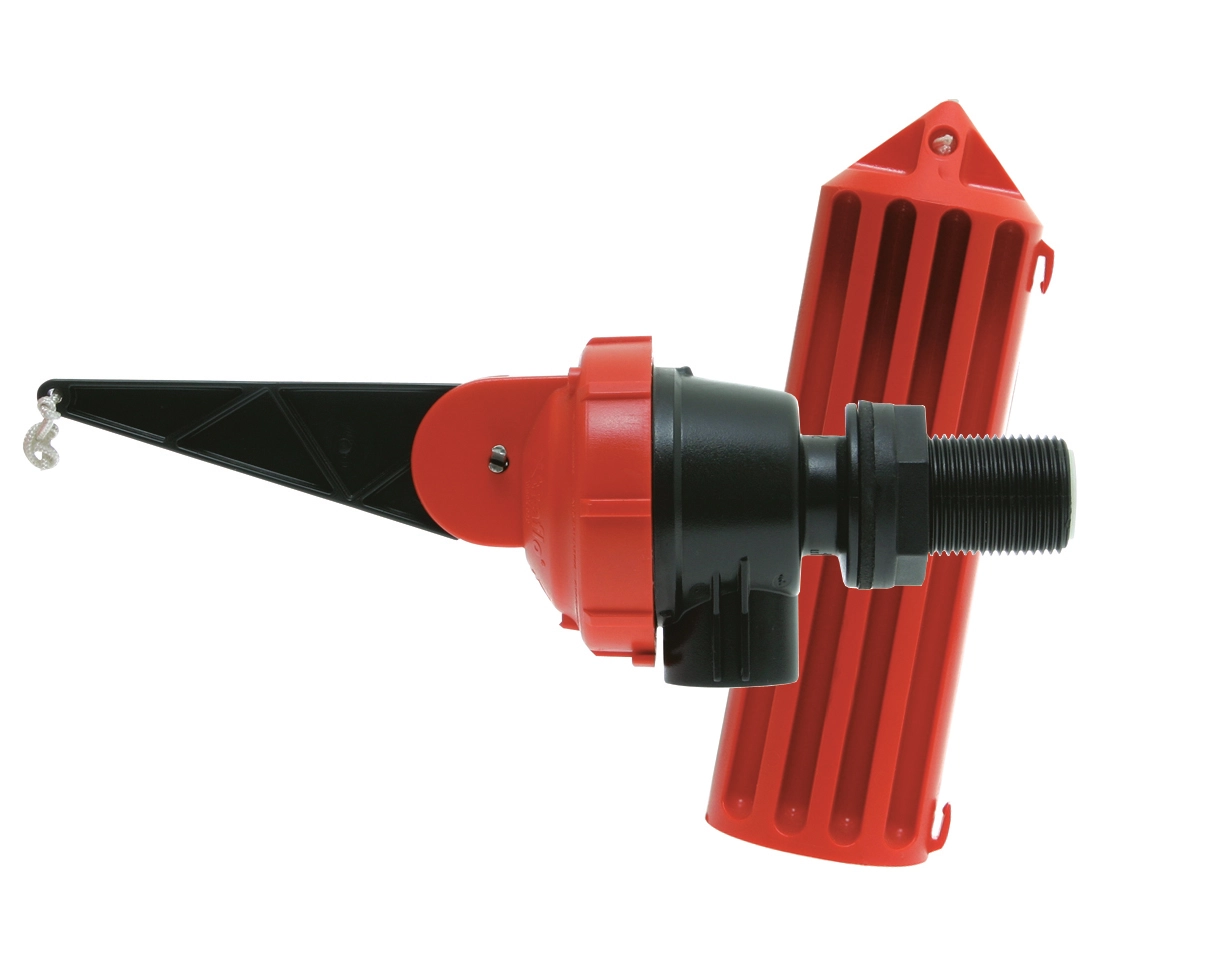
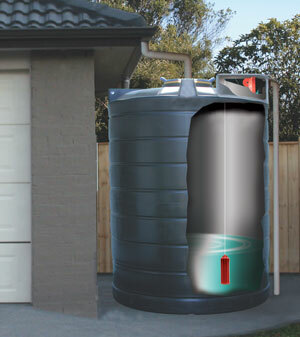
The RainAid® valve is designed to be connected to the mains water supply on a rainwater tank. it will provide a backup supply of water in the event of demand exceeding rain supply.
- Simple to install
- No electrical supply required
- Standard’s approved for mains water connection
- Rainwater fills the tank at the next rainfall
Operating Principle:
Under normal conditions, rainwater will fill the tank. If the rainwater level drops below a pre-set level, the RainAid® valve will open to maintain the water level using the mains water supply. There is a 100mm differential between the open and closed positions of the RainAid® valve.
Standards:
- Certified to Watermark standard AS1910:2004, Lic 20368, SAI Global
- Australian patent. 736446
- Australian Class II Patent 1025211
- Complies with AS/NSZ 3500.1
Specifications:
- Inlet connection: 3/4″ male pipe thread
- Cold municipal or well water pressure water connection.
- Minimum inlet pressure: 8 PSI (55 kPa)
- Maximum inlet pressure: 150 PSI (1000 kPa)
- Maximum water temperature 140˚F (60˚C)
- Supplied with inlet strainer
- Open to closed valve differential is 4 inches of water
Installation Instructions:
IMPORTANT
- Tank overflow should be visible (to detect malfunctioning valve)
- The pump must have ‘dry-run’ protection
- Failure to affix the label, supplied with the valve, near the overflow discharge will void the warranty
- Water loss is not covered by the manufacturer’s warranty
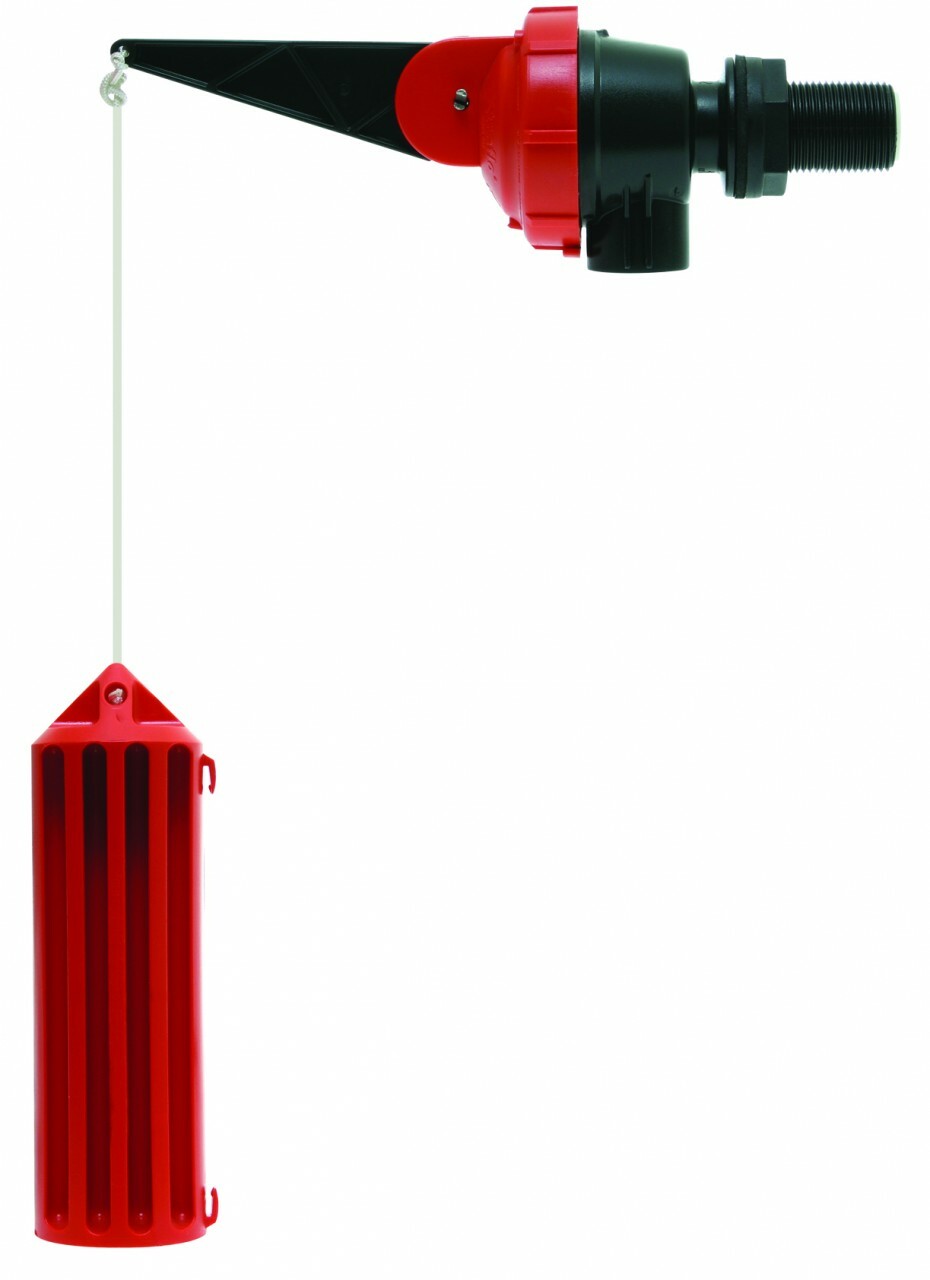
- The cord must hang freely
- Install valve horizontally. Do not install on an angle.
- DO NOT restrict the flow
- Inlet pipe must be clean
- Ensure the washer is fitted on the inside of the tank.
- Use thread tape and do not over-tighten
- Measure the required cord length ‘L’ as shown in the illustration.
- Trim the cord length.
- Thread the cord through the hole at the end of the lever. Tie a knot at the end of the cord to secure it.
- Ensure the weight is secure at the other end of the cord.
- Place the weight in the tank. (It will sink if the tank is full of water)
- RainAid® valve MUST NOT be fitted to tanks used partially or entirely for stormwater detention. (Detention is the slow release of water run-off to the stormwater drain during and after rainfall events).
- Do not restrict inlet water flow.
- Not to be modified.
- The valve must be installed horizontally.
- Overflow discharge must be visible.
- Overflow and air gap to comply with local standards (air gap of 3 x municipal water inlet pipe diameter – 55mm – complies with AS/NZS 3500.1)
- The minimum water level (L) is easily set at any height during installation by adjusting the cord length.
- The cord must hang freely.
- Failure to affix the label, supplied with the valve, near the visible overflow discharge will void the Warranty.
- Some Australian states stipulate a minimum water level that must be maintained for firefighting purposes.
- Best practices stipulate a visible air gap.
Important Notice:
Tank overflow discharge must be visible. If overflow is discharging when there is no rainfall, isolate the water supply and call a plumber immediately. This discharge comes from your metered water supply. Water loss is NOT covered by the manufacturer’s warranty.
The RainAid valve is a mechanical water shut-off device that requires periodic maintenance.
Every 6 months, check that the valve functions correctly. Gently push the lever down. When the valve opens, release the lever. When the weight is submerged, the valve should close. If the valve fails to shut off completely, it may be necessary to clean, service or replace it.
Warranty is limited to any fault found in a valve due to poor workmanship or materials that is returned to the manufacturer within 1 year from the date of manufacture.
Servicing:
- Servicing is not likely to be required if the valve is fitted to the mains water supply.
- Spanner is necessary for disassembling the valve for servicing if this is required.
- Servicing details are provided on the packaging.


